Details
Testing parameters
- Temperature testing range (23 - 1000)°C, furnace stability ± 0,1°C
- Loading range (0-5000) N
- Loading speed rate (0,0001-10) mm/min
- Punch displacement measurement range ±2mm
- Argon flow setting range (0-30) ml/min
Main features of a new and completely redesigned 2020 version:
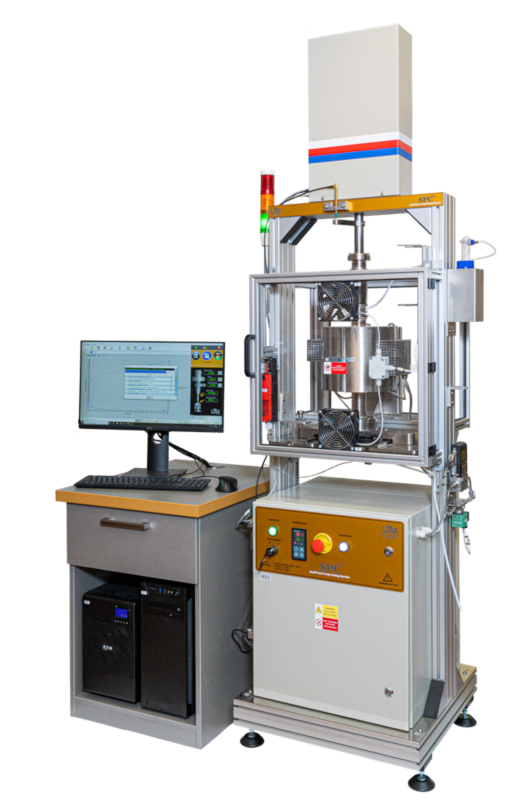
- Fully automatic and fluent loading of the specimen using the direct load frictionless system with creep resistant load sensor
- Automatic control and maintaining of required specimen temperature measured directly on it‘s surface
- Used creep and oxidation resistant materials of a cartridge, lower and upper die, punch / ball for long-term exposition at high temperatures and ensuring frictionless load of the specimen
- Sample protection against oxidation ensured by gas-tight chamber throughout testing process
- Automatic compensation of thermal expansion of machine components of the test system
- Automatic gas-tight chamber bellows rigidity compensating during testing process
- Testing system contains Uninterruptible Power Supply (UPS) allowing power supply of testing machine for at least 15 min. after blackout and simultaneously ensures smooth transition to laboratory back-up power or automatic test stop based on UPS state of battery
- Automatic volume setting of protection gas in the range (0-30) ml/min, opening and closing solenoid valve with specimen protection gas based on control system
- Possibility of setting sample preload before loading (testing) process
- Fully automatic control system allowing preload setting, maintaining preload during cleaning testing chamber, specimen heating to required testing temperature, setting loading, maintaining required load until specimen penetration, sample unloading, cooling a test stop.
- Control system working on real time DAQ system with sampling up to 10kHz with continuous monitoring testing process and control software allowing data recording from sensors (specimen temperature, load, punch displacement, argon flow, furnace controller temperature, UPS status)
- Visual and acoustic indication of the testing process
- Control software containing the procedures allowing calibration of specimen temperature, load, punch displacement, bellows rigidity
- Possibility of verifying real specimen temperature by the help of independent thermocouple with it´s end directly welded on the specimen on condition of operation at the same conditions as assessed thermocouple
Why our system is reliable and with high repeatability
- Cartridge ensuring perfect specimen establishment with high centering of the punch tip (ball) to the center of the sample
- Accuracy and material excellence of a lower die (Ø4mm, R0,2, Si3N4) each piece marked and verified (high hardness, excellent abrasion resistance, creep resistance, low coeff. of thermal expansion)
- No friction at load mechanism and minimum friction between upper die and punch (ceramic)
- Full sample protection against the oxidation
- Measuring sample temperature and maintaining it throughout the testing process directly on its surface and with possibility of verifying by independent thermocouple anytime
- Setting and maintaining the required load of the sample (minimum forces acting against load)
- Verifying by reference specimens
Materials

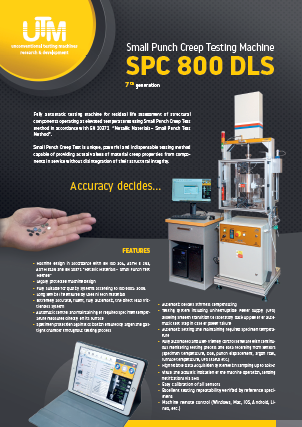
Product leaflet
A leaflet with more information about the product. This is only available upon request.
Request
